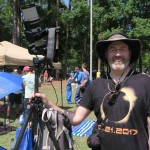
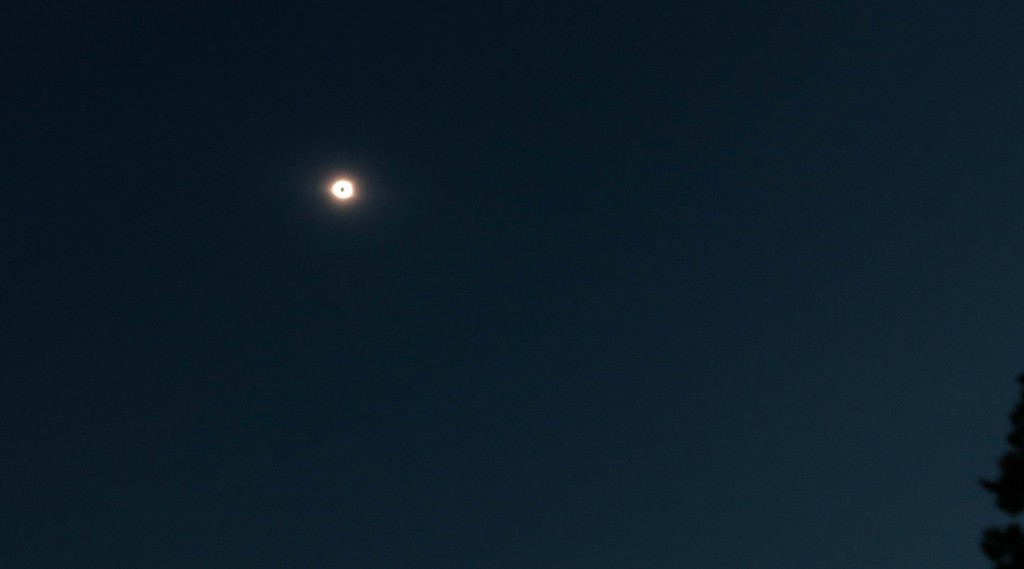
I was going to just write a sentence or two about actually taking the photos, but when this part of the story stretched to multiple pages, I realized it deserved it’s own post. Warning: possibly of interest only to would-be camera nerds. This is pitched at a fairly basic level. Eventually I plan to edit in some links to external articles from at the end of this post. The story of my eclipse trip can be found in the previous post, and a flickr album with more photos can be viewed here.
My main goal was to get a photo of the sun’s corona at totality along with some photos of the partial eclipse. I wasn’t trying to make one of those neat composite images showing the entire progression of the eclipse. Since I didn’t know what it was going to look like at the park until I got there, I didn’t plan on doing anything wide-angle to capture the eclipse and the landscape. No video. Just the money shot. Simplifying was also important since I had to fly from the west coast and didn’t want to bring everything I own.
Camera: I went with my older DSLR camera (Canon 60D) over my newer camera. Although in most ways inferior, the 60D had one important advantage- a flip-out, fully adjustable LCD screen. In testing the week before, I found this amazingly helpful when trying to aim and focus when pointing almost vertically at the mid-day sun.
Lens: For the lens, I used my oft-neglected Canon 400mm f/5.6. I usually leave this at home for wildlife because I have other lenses that do the “long lens” job as well or better. But this is a really sharp lens, and since I was going use a tripod I thought the lack of image stabilization wouldn’t hurt me. Additionally, being a fixed focal length lens rather than a zoom might actually be an advantage. There’s something called “zoom creep” or “lens creep”- heavy zoom lenses can inadvertently zoom in or out if pointed much above or below the horizon due to the weight of the lens itself. Again, not often a big issue for photographing wildlife that’s in front of you, but when pointing up at the sky for long periods of time, I thought it could lead to problems.
Filter: To shoot the eclipse before and after totality, I purchased a 77mm solar filter from StarGuy. This is not a cheap filter (especially for being basically a small swatch of mylar in a filter ring), and if you enjoy doing things on the cheap you can probably search the internet for cheaper solutions to not frying your camera sensor. Luckily the 400mm lens has a 77mm filter thread as do several other of my heavy-rotation lenses. A quick side note about filters: if you have lenses of different diameters and want to use a filter on all of them- you can buy for the larger size and buy “step-down” rings to get it to screw into the smaller one.
Tripod, etc. Even with a decent tripod and tripod head (I used my Gimball head since it’s made for bigger lenses and a little easier to control than a ballhead and easier to point vertically than the panhead I used for my spotting scope), a 400mm lens will show a lot of shake. I hung my backpack off my tripod to further minimize shake through the tripod. I used both a wired remote and the 2-second timer feature so I could capture the image after the vibrations of physically touching the camera had dampened. I also attempted keep the shutter speed as high as possible by shooting at relatively high ISO settings (I think 800-1600 ISO). Although this is an older sensor and high ISO noise can be an issue, I figured that I could fix some of the sensor noise on the computer. It’s much harder to fix an image that is blurry due to shake or motion during too long of an exposure.
I manually focused using the LCD (i.e. “Live View”) rather than the optical viewfinder- in fact I never used the optical viewfinder once it was on the tripod. Not only was it safer for my eyes not to be looking towards the sun, it was ergonomically better to be able to stand and look comfortably. Moreover, the camera has an option to zoom in during live view which really helped in seeing more detail when fine tuning during focusing.
MISTAKES WERE MADE
Even with a practice run on a full California sun the week before, this was a difficult task. The light changes as the sun disappears, and during totality there are only a couple of minutes to try to take in the spectacle while still getting some good photos.
1- Removing the filter at totality. I remembered to do this, which is good. However, I didn’t think about the implications of unscrewing a filter when relying on manual focus. The lens rotated a bit during this process. As in rotated slightly out of focus. Thankfully I eventually noticed and re-focused when I had to re-aim the camera to track the continued movement of the sun across the sky, but the first few photos I took during totality are trash because of this blunder.
2- Auto-Exposure Bracketing. This is a feature that’s been common in cameras for at least 30 years. Because it can be a little fiddly to know how your camera’s light meter is actually reading a scene, you can have your camera automatically capture extra images that are over or under exposed. This is a great idea if you might end up liking one of those alternative exposures better than the “correct” one. Also, if you are into more advanced post-processing of your photos in the computer, you can combine parts of these stacks of exposures to create a manufactured image with more detail in the darker and lighter parts of the image (this is called High Dynamic Range or HDR photography). I didn’t end up doing bracketing, and I’m not really sure why since it’s “free” in every way except for adding 3 to 5 times more photos to sort through. I ended up paying enough attention to the lights and darks on the screen in Live View that I ended up with images I was happy with, but it was kind of silly of me not to avail myself of this great tool on the camera.
3- More “scene” images. There’s only so much one can do in the 2-plus minutes of a total eclipse. One of my biggest priorities was to make sure I was experiencing the eclipse- pausing to take in the wonder with my senses and let the spectacular phenomenon wash over me. That said, next time (in 7 years), I’d like to squeeze in a few extra snaps from a second camera to get the whole sky and horizon, and maybe have a video camera aimed at the crowd to get their reaction. I had my phone set to do this but somehow abandoned the plan once we got near totality. Or maybe I should just leave this for a friend to do!


